How to make candles at home
You can personalize scents, shapes, and colors to suit your own style when you make candles at home, which is a creative and fulfilling hobby. This guide will teach you how to make candles step-by-step in an understandable manner, regardless of your level of experience. In addition to having lovely handmade candles at the end, you'll have a greater understanding of this age-old craft.
Knowing the essential supplies and tools you'll need to make candles is a good place to start. This covers containers or molds, wax, wicks, and fragrance oils. Every element is crucial to the functionality and appearance of the finished candle. The length of time your candle burns and how evenly it melts can be influenced by the type of wax and wick you choose.
Soy wax, beeswax, paraffin wax, and palm wax are among the various types of wax that are frequently used in candlemaking. Because it burns cleanly, is eco-friendly, and is simple to work with, soy wax is a favorite among novices. Although it can be more expensive, beeswax is known for its slow-burning qualities and has a natural honey scent. The conventional option, paraffin wax, creates more soot. Although palm wax produces distinctive crystalline patterns, some people have concerns about its sustainability. Knowing the features of each will enable you to choose wisely and achieve your candle-making objectives.
Wicks are yet another crucial component. The diameter of your container and the kind of wax you use must be compatible with the wick's size and type. A candle that uses the incorrect wick may smoke excessively, burn too quickly, or not stay lit. Although cotton wicks are frequently used, wooden wicks that burn with a pleasing crackle are also available. To make them easier to secure in the container, look for pre-tabbed wicks with a metal base.
After gathering your wicks and wax, it's time to consider a safe method of melting the wax. In order to avoid direct heat damaging the wax or creating a fire hazard, melting wax necessitates a double boiler setup. By setting a smaller pot or a heat-safe bowl inside a larger pot that is filled with water, you can make a double boiler in your kitchen. The wax is slowly heated to a liquid by the simmering water.
Controlling the temperature is essential when melting wax. To keep a close eye on the temperature, use a thermometer made specifically for cooking or candlemaking. The ideal melting temperature range for most waxes is typically between 170°F and 185°F (77°C and 85°C). The wax may become discolored, smell burnt, or lose its ability to retain fragrance if it is overheated. You can add fragrance oils or dyes if you'd like once it's melted to the proper temperature.
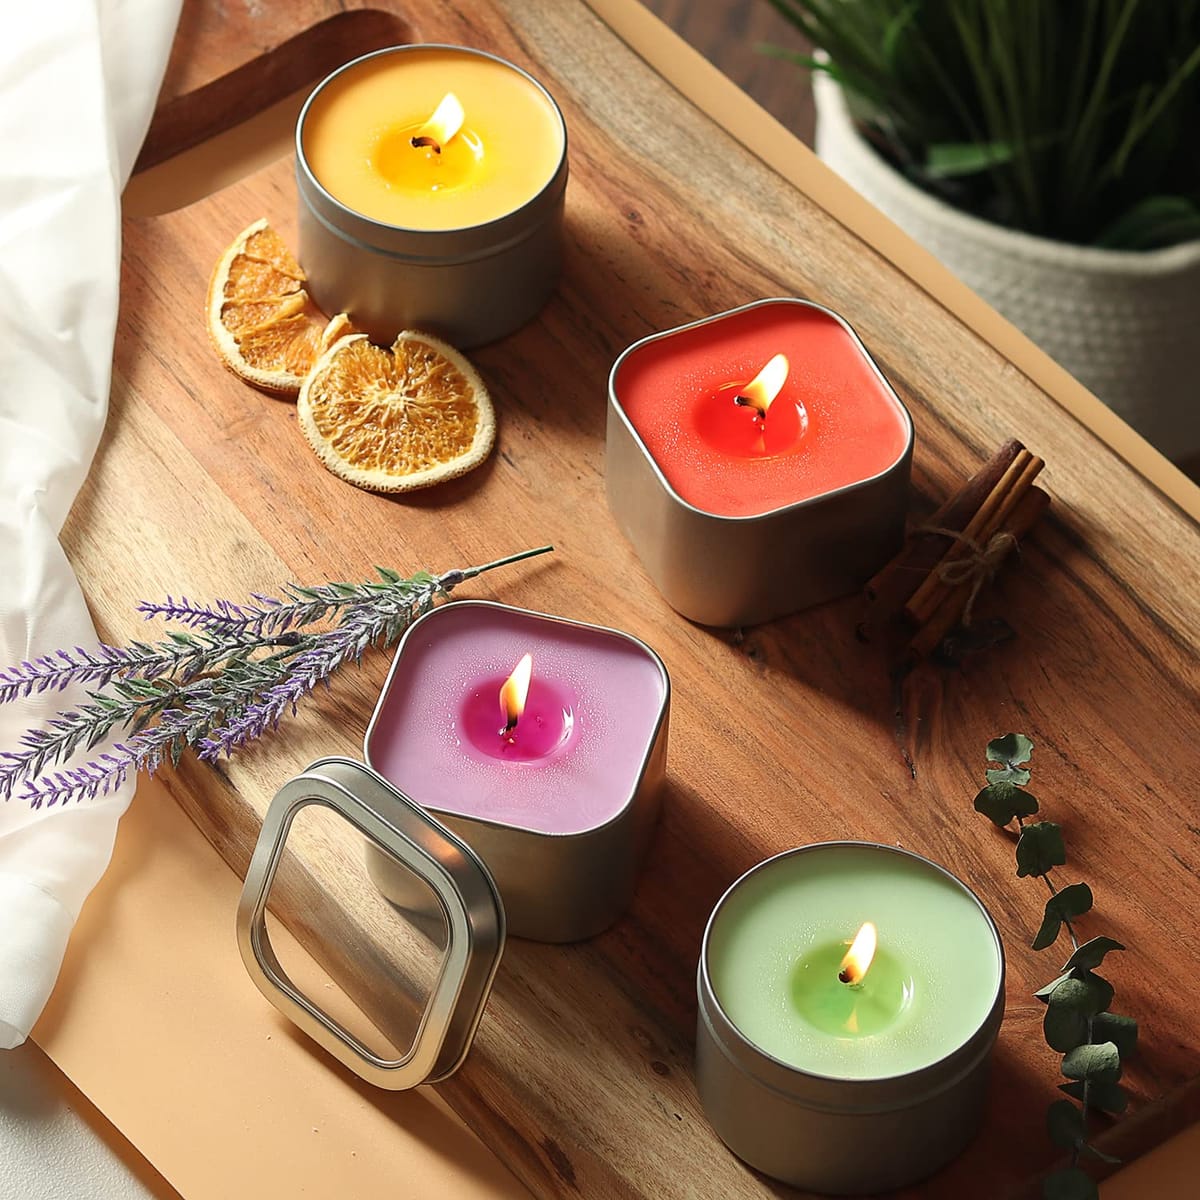
Your candles' distinct aroma comes from the fragrance oils you use. Pre-blended candle fragrance oils are available online or at specialty shops. Essential oils can alter the way a candle burns or may not mix well with wax, so don't use them unless they are specifically labeled for candle use. Once the wax has cooled slightly but is still liquid—typically around 160°F (71°C)—add the fragrance. This keeps the scent from evaporating and aids in the fragrance's strong bond with the wax.
You can alter your candles' aesthetic appeal by using color dyes. When creating candles, liquid dyes, dye chips, and dye blocks are frequently utilized formats. To create a color scheme that fits your style, you can blend various dyes. Gradually add the dye to the melted wax, stirring continuously, until the desired shade is reached. Keep in mind that once the candle solidifies, colors may appear slightly differently, so you may need to experiment.
You can now get your containers and wicks ready after making your wax, fragrance, and color. To prevent dust or oils from affecting the wax's adherence or burn quality, thoroughly clean your containers. Using a wick sticker, glue, or by wrapping the metal tab around a pencil placed across the container's opening, secure the wick in the middle of the container. This ensures an even burn by keeping the wick upright while you pour the wax.
To prevent spills or air bubbles, pour your wax slowly and carefully. It is crucial to pour at the proper temperature, which is typically just below the melting point but still warm enough for the wax to flow easily. To avoid uneven surfaces or cracks, do not move the container after the wax has been poured until it has completely set.
The last step before using your candle is to cure it. For the wax to properly harden and the fragrance to bind with the wax, the candle must be left to sit for a few hours or even days. As a result, the candle will smell better and last longer. For up to 48 hours, some candle makers advise curing soy candles. Before lighting, trim the wick to about ¼ inch after it has cured.
It's equally important to burn your homemade candle safely. Candles should always be lit on a sturdy, heat-resistant surface far from children, pets, and combustible items. Candles should never be left burning unattended. To avoid tunneling, the initial burn should be prolonged enough to melt the wax pool to the container's edges. To prevent too much smoke or soot, trim the wick on a regular basis.
Once you are comfortable making simple candles, you can experiment with a variety of advanced techniques. You can use molds to create decorative shapes and textures, layer colors and scents, and experiment with different wick types and sizes. For a decorative effect, some people even embed items like dried flowers or herbs inside the wax. Gaining knowledge of these methods can enhance the fun and customization of your candle-making hobby.
Customizing candles for various events, like holidays, birthdays, or presents, is another imaginative way to express yourself. Personalized candles that match an event's colors, themes, or monograms can make heartfelt gifts. Additionally, by combining art and mindfulness, natural candles made from organic ingredients appeal to consumers who favor eco-friendly and health-conscious goods.
To sum up, creating candles at home blends creativity and functionality, offering a delightful way to add brightness to your room or give considerate presents. Even novices can create beautiful, superior candles if they know the essential ingredients, methods, and safety precautions. Candle-making can develop into a lucrative small business or a beloved hobby with practice. Take pleasure in the process, try out various patterns, and let your originality show in your handcrafted candles.